Introduction
This page describes how to create (and therefore also edit) a page in WordPress. It is targetted at the novice user, so if you think you’re an experienced WordPress editor, go elsewhere!
Although you can work with WordPress on a a phone or tablet, it’s very fiddly – so much better to use a laptop or desktop PC.
First, what is WordPress? At its simplest, it’s a computer program to create websites. In some ways it’s similar to a word processing program (like Microsoft Word). However:
- WordPress is an internet application (i.e. there isn’t a desktop version).
- The content (e.g. text and pictures) is kept separate from how pages are formatted (e.g. the banners, menus, colour schemes, etc). The advantage of this approach is that it’s relatively easy to update how a website looks without having to change every single page.
This diagram might help:

In words:
- Request the required file from your browser
- WordPress gets the layout from the theme
- At the same time as 2, it retrieves the article data from the database
- The browser will render and display the file generated by WordPress
Therefore, what we’re focussing on in this guidance is element (3) – the ‘data’ or content’.
(If you’re interested in a fuller description of WordPress, head over to https://webgaku.net/wordpress/what-is-wordpress/ .)
Launching WordPress
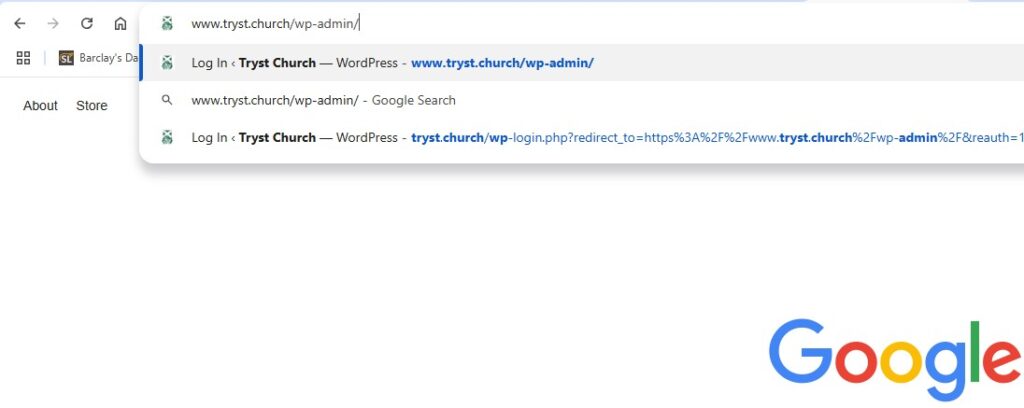
To log in, launch your favourite browser (we’re using Chome in this guide, but any browser will do) and go to www.tryst.church/wp-admin/
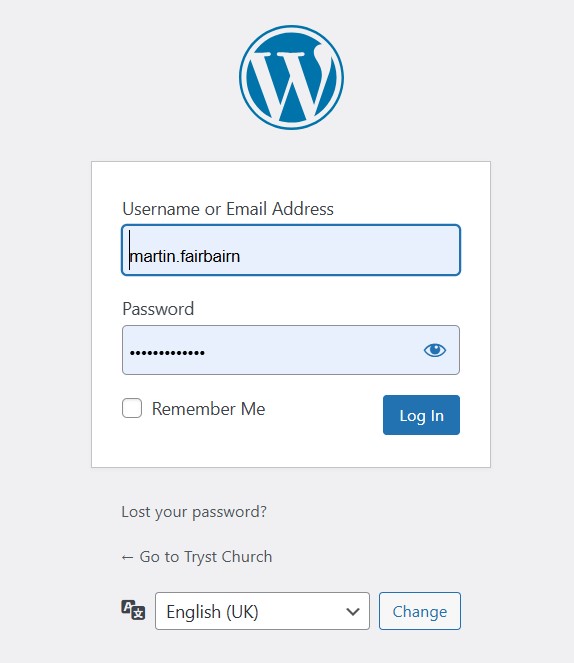
And then enter your username and password.
WordPress dashboard and the pages of the website
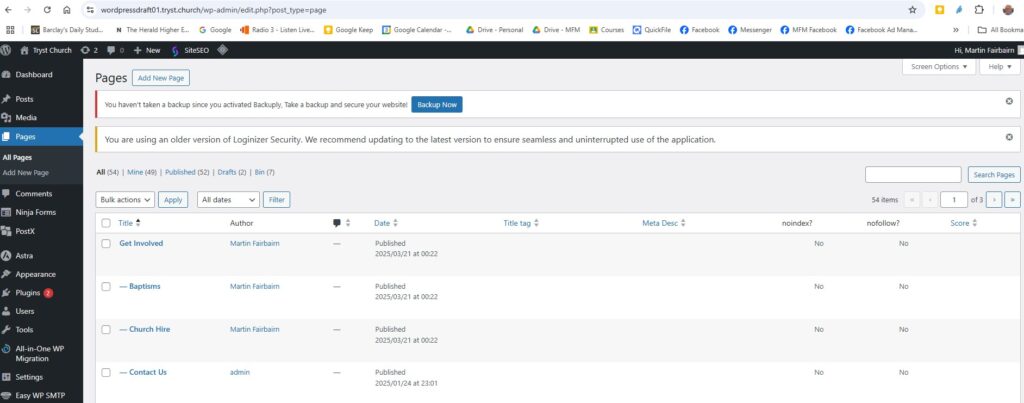
You’ll then be presented with the WordPress dashboard. Down the left-hand side are the various menu items to help you mange the WordPress site. Not all of those shown here will appear to you – what you can see will depend on your permissions.
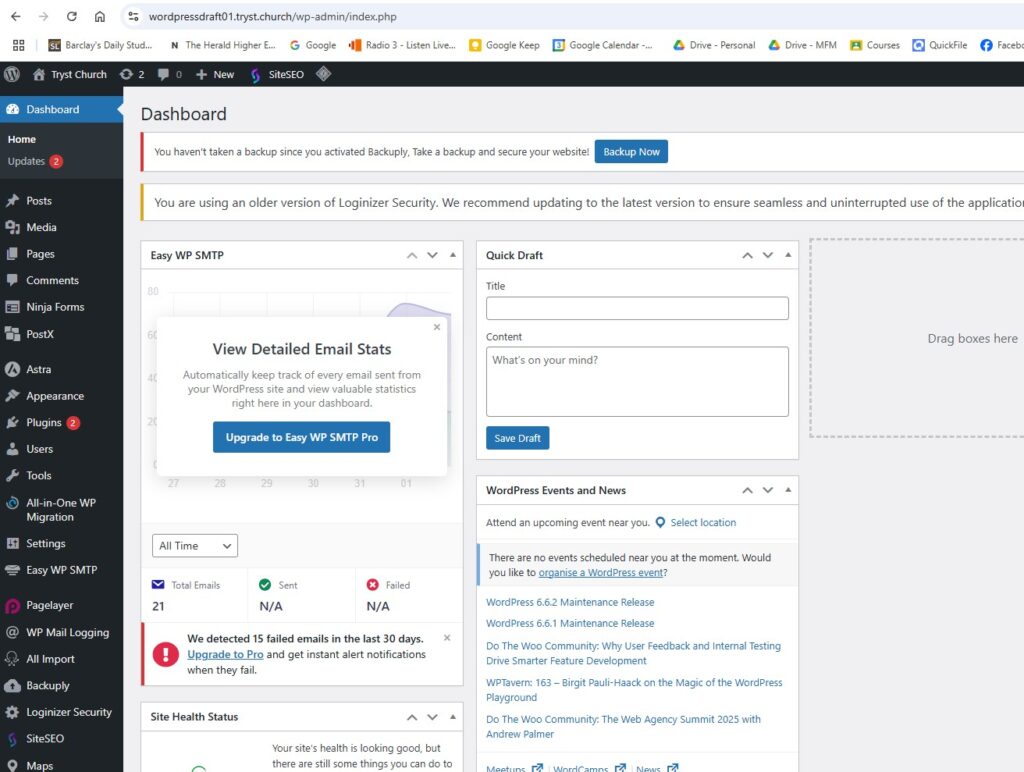
Click on Pages, and then you’ll be able to see a list of all the pages on the website.
A different way to see published pages and edit existing pages
If you’re looking to edit an existing page, you might find it easier to look at the ‘Sitemap’ and select ‘Edit page’ from the published version of the page. For guidance on that, go to the following sections in this webpage:
- Viewing a complete list of all published pages
- Opening a page for editing directly from the published version
Adding a new page
We’re going to create a new page, so click on ‘Add New Page’ from the left-hand menu, and you’ll be taken to this view:
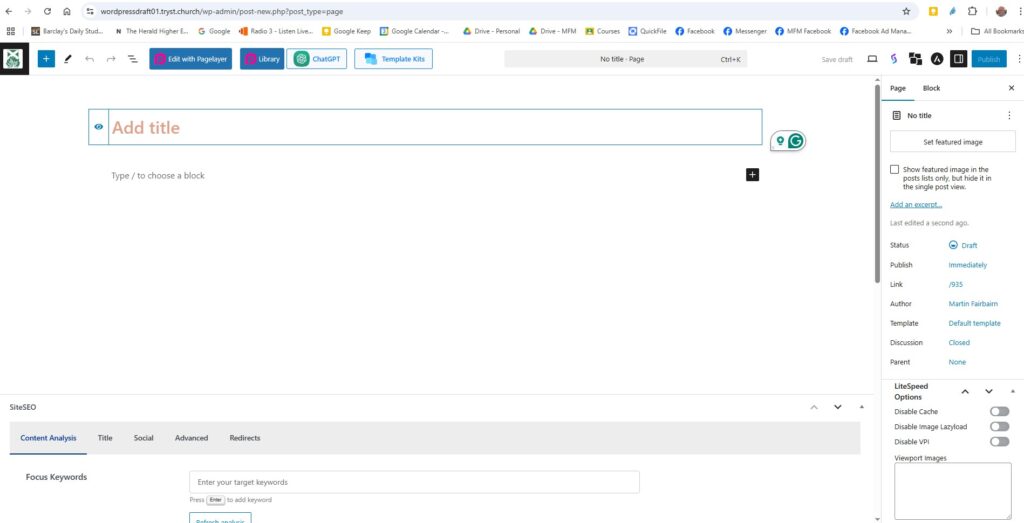
First thing to do is to create a title for the page. This is how the page will be referred to in the website, so make sure it accurately describes the content of the page, but also keep it short. And don’t include any ‘funny’ characters (e.g. £, $, %, &, etc). This example is going to be about the church choir. But to make sure nobody mistakes it for the real thing we’re adding “Training Page” and a number. After typing in the title, hit <Enter>, and you should see something like this:
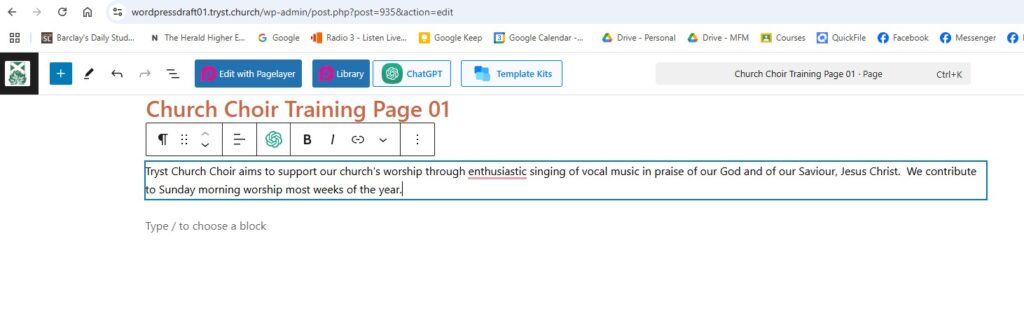
And now we’re going to start entering some simple content (i.e. text and pictures). WordPress works with what it call ‘Blocks’, each of which can contain text, pictures, videos, etc. It’s simply WordPress’s way of organising content on a page. Think of it like a jig-saw – except that all the pieces are rectangular!
To get started, just click into the ‘Type / to choose a block’ space and start typing, like this:
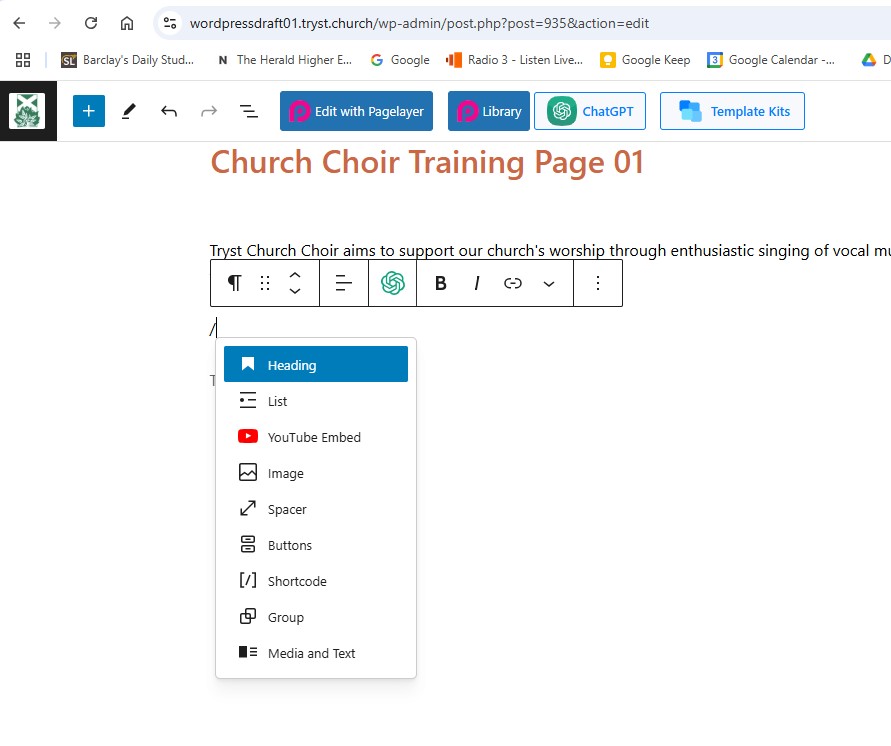
Once you’ve finished your sentence or paragraph, just hit <Enter> and you’ll be able to start with a new Block. As already mentioned, there are many types of Blocks, so let’s look at how you can select different types of Block.
Adding images
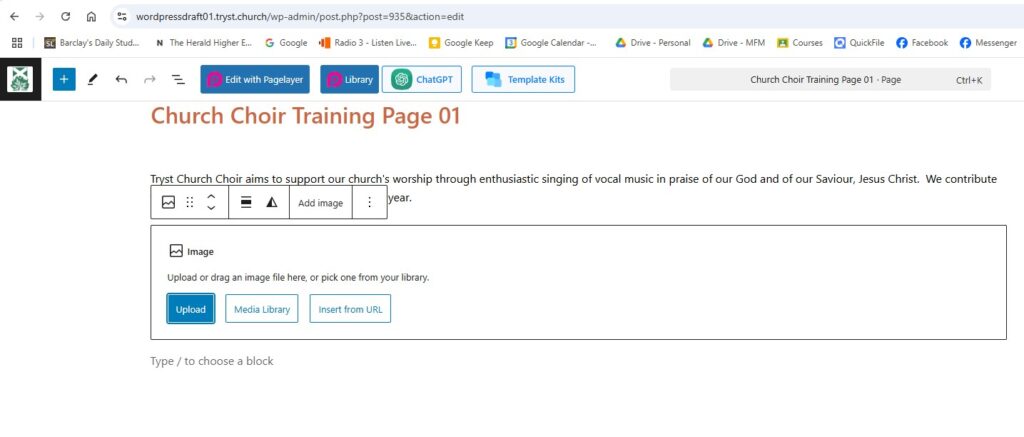
The simplest way is to click into where it says ‘Type / to choose a block’ and hit the ‘/’ key, and then you’ll get a drop-down menu of Block types. There are many, many more different types of Blocks which you can access by clicking on the blue square with a ‘+’ sign at the top-left of the screen, but we’ll stick with these basic Blocks for now. So let’s add a picture, by clicking on ‘Image’.
You’ll then get three options. Uploading is fairly simple, but while using images from the internet can be attractive, it’s also fraught with copyright and other risks. And since we’ve already got quite a lot of pictures in our website media library, we’ll use that route. So just click on ‘Media Library’.
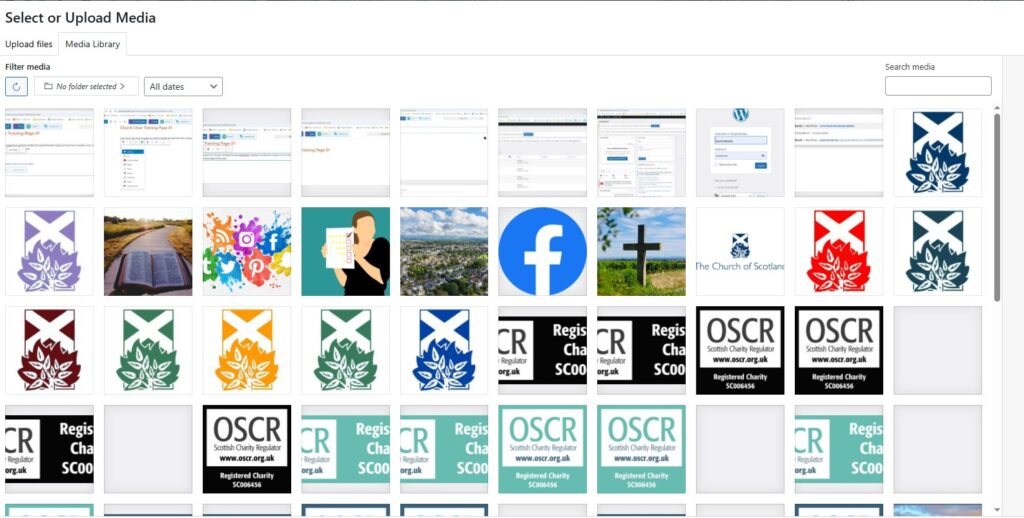
You’ll then get a screen with all the images in our website Media Library. But to make it easier to find what you’re looking for, the images have been organised into folders. So click on the ‘No folder selected’ button towards the top-left of the window.
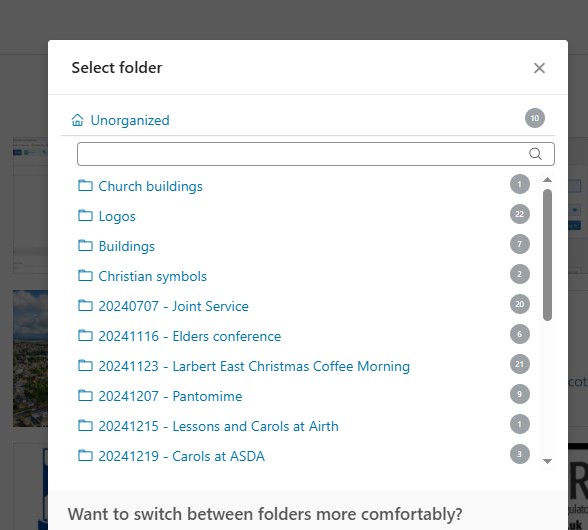
And then you’ll get a list of folders. For this example, scroll down the list and select ‘20250323 – Joint service’.
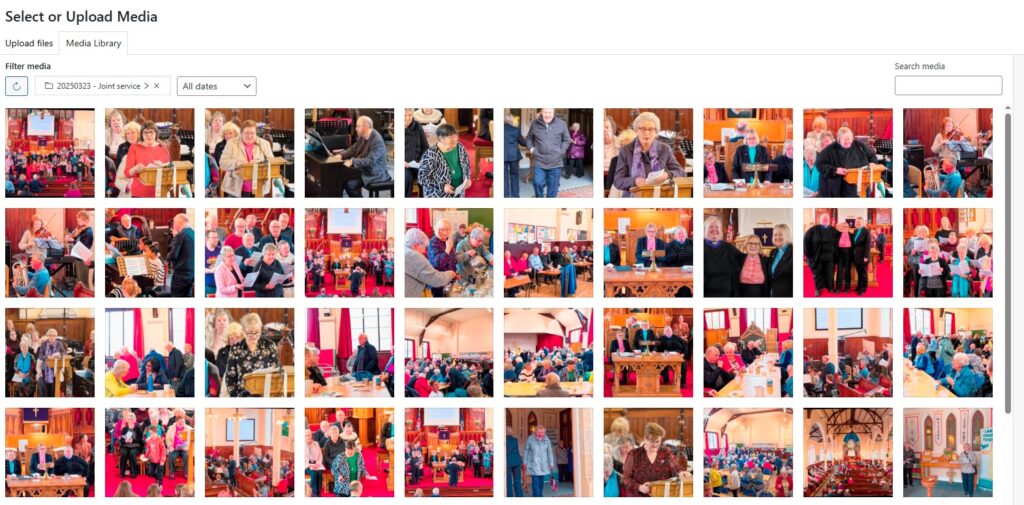
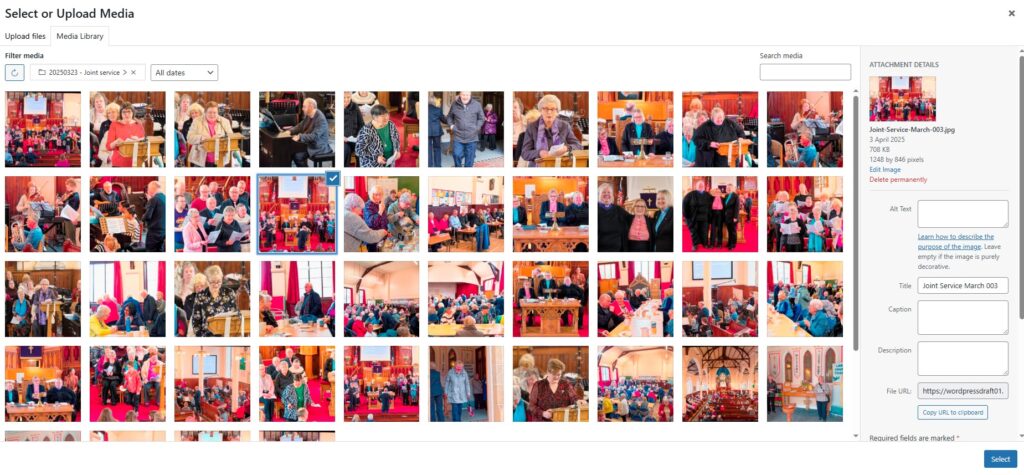
And then you’ll get a window showing all the images in that folder. Click on a suitable image of the choir.
And a ‘tick’ will appear in the corner of the image you’ve chosen and a blue ‘Select’ button will appear in the bottom-right of the window. Click that ‘Select’ button.
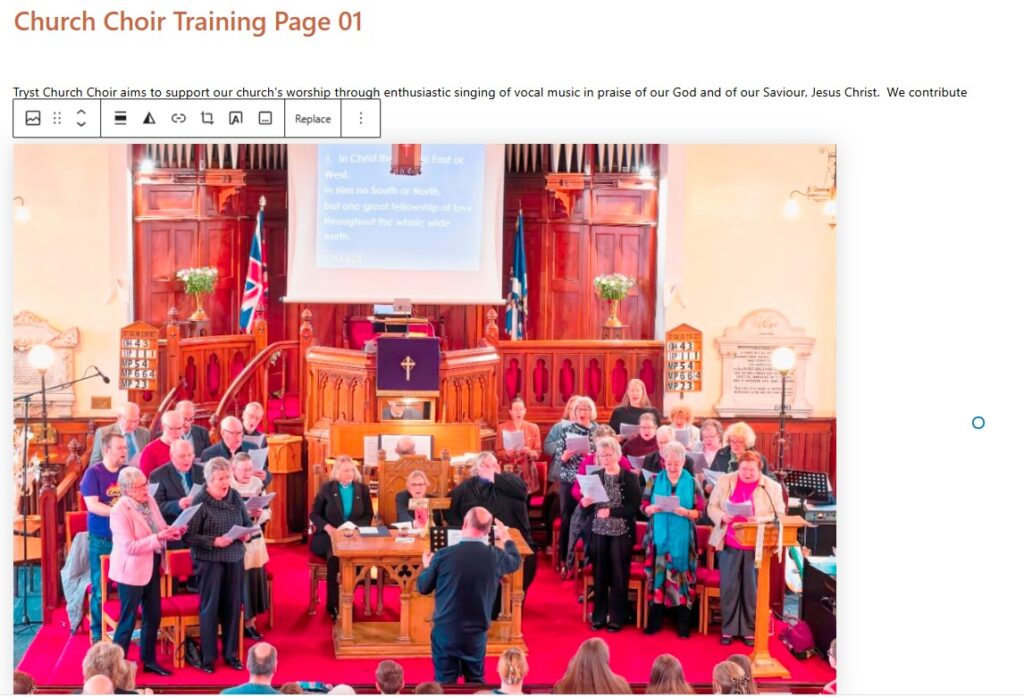
And the picture will be inserted into the page. In this case, the picture is a bit big, but you can easily re-size it by clicking on it and dragging the ‘handles’ to achieve the desired size.
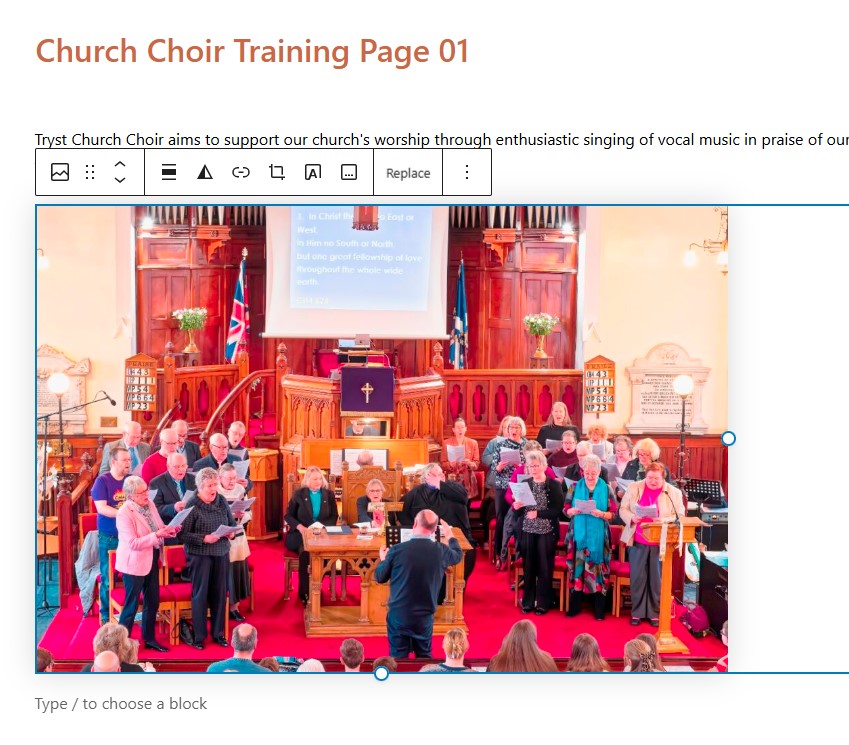
If you want to add a caption, click on the image and then click the caption icon (the little square with the three dots at the bottom of it):
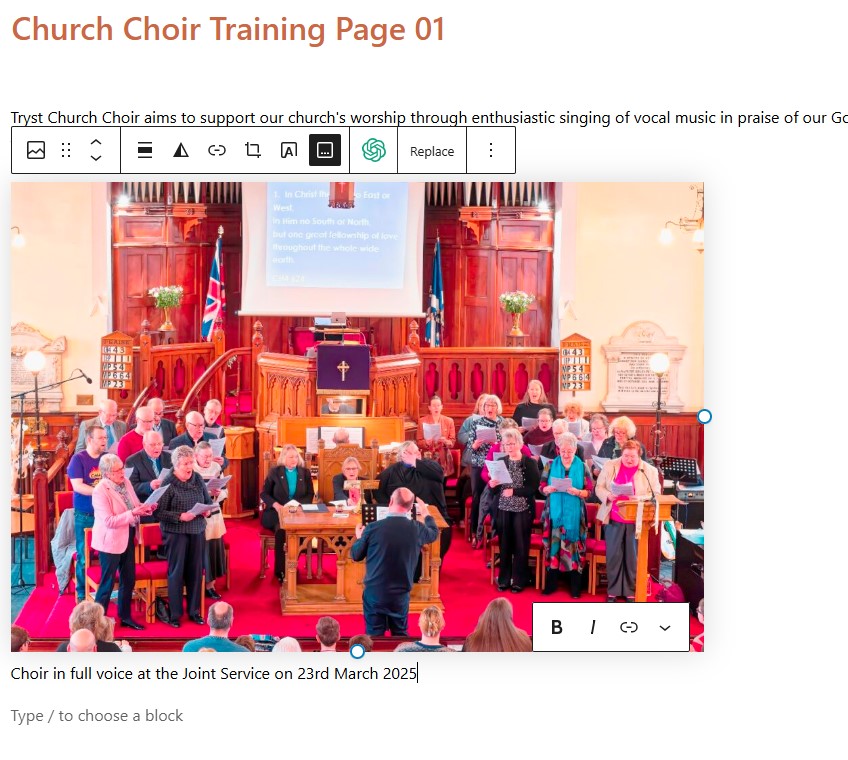
And then type in a suitable caption, like this:
We’re almost done, but before we save and publish, let’s look at adding headings, sub-headings and deletion.
Headings and sub-headings
Go back up to the top of the page, place your cursor at the beginning of the first paragraph (e,g, before “Tryst Church Choir”) and hit the <Enter> key. Place your cursor In the new Block above the existing paragraph and hit the “/” key.

And then select ‘Heading’ from the drop-down menu.
You’ll then see the word ‘Heading’ in a faint typeface:
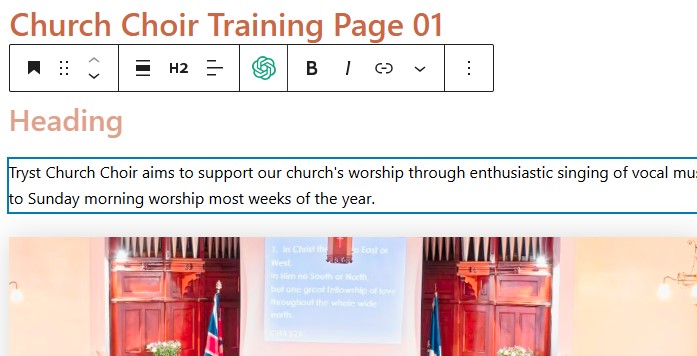
And in that new ‘Heading Block’ you can type a suitable heading, such as ‘Introduction’:
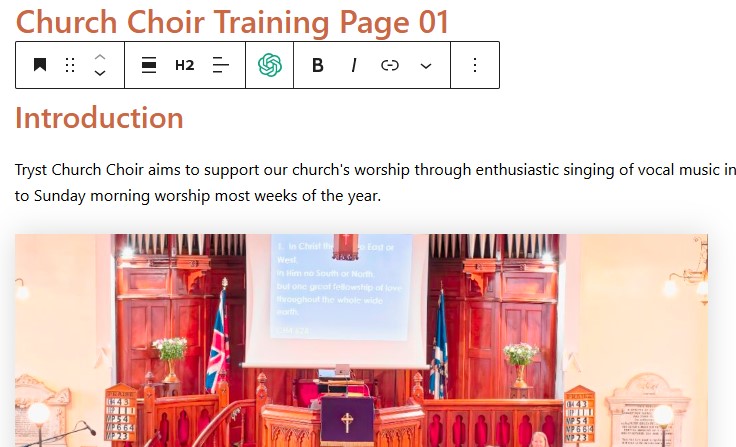
And note that from the horizontal menu immediately above the block you can select different levels of Heading. In this case it’s level H2.
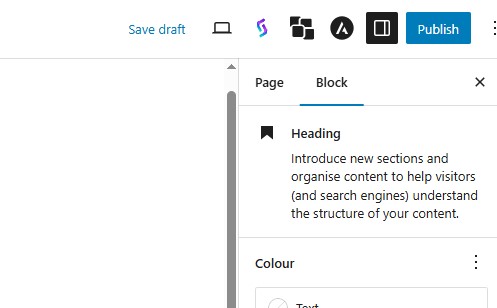
When you need a heading or sub-heading, do try to use the ‘Heading’ block and don’t just boldface text in a normal paragraph block. The main reason is that if you use the proper ‘Heading’ block it will automatically apply the standard formatting that’s been set up across the whole website – which looks much better compared to random formatting styles.
Saving and publishing
As always when you’re creating a document, it’s a good idea to save it as you go along. To do so in WordPress before a page is published, click on the ‘Save draft’ link towards the top-right of the window:
And then once you’re page is ready to go live, click the blue ‘Publish’ button. You’ll be asked to confirm that you are ready to publish, and if you are you should click the ‘Publish’ button again.
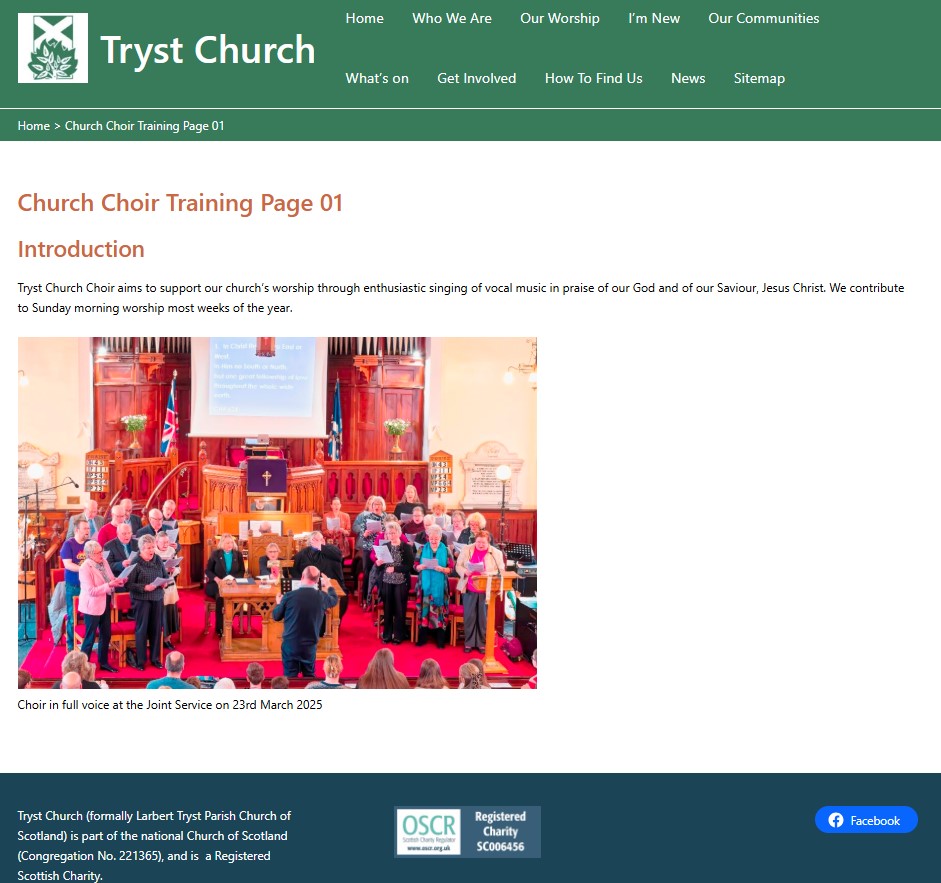
Your page will then be published, and you’ll be given the option of viewing the newly-published page by clicking a pop-up at the bottom-left:

And then your new page will be shown:
Finishing up
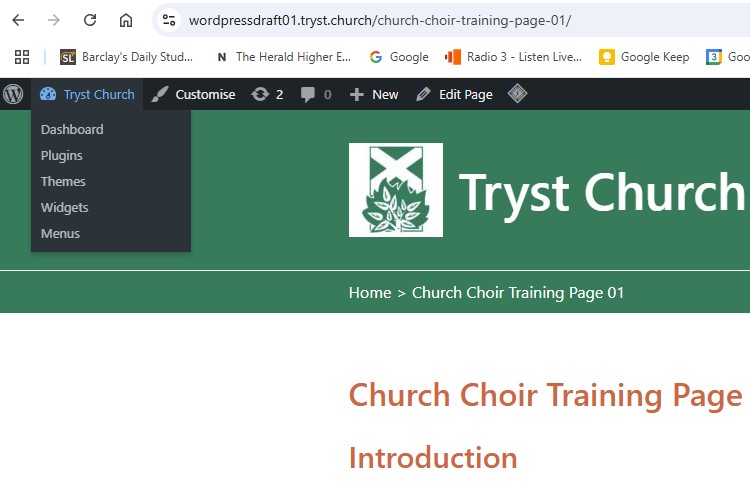
Once you’re finished, go back to the WordPress dashboard by hovering your mouse over ‘Tryst Church’ at the top-left of the screen, and clicking ‘Dashboard’:
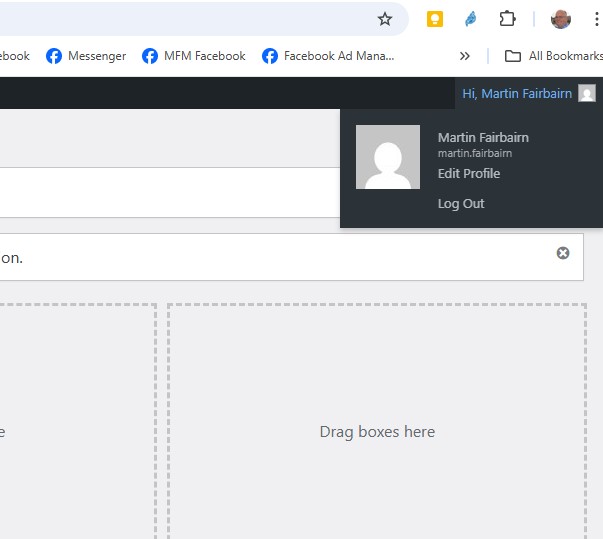
And if you’re completely finished, hover over your name at the top-right of the screen and click ‘Log out’:
Viewing a complete list of all published pages
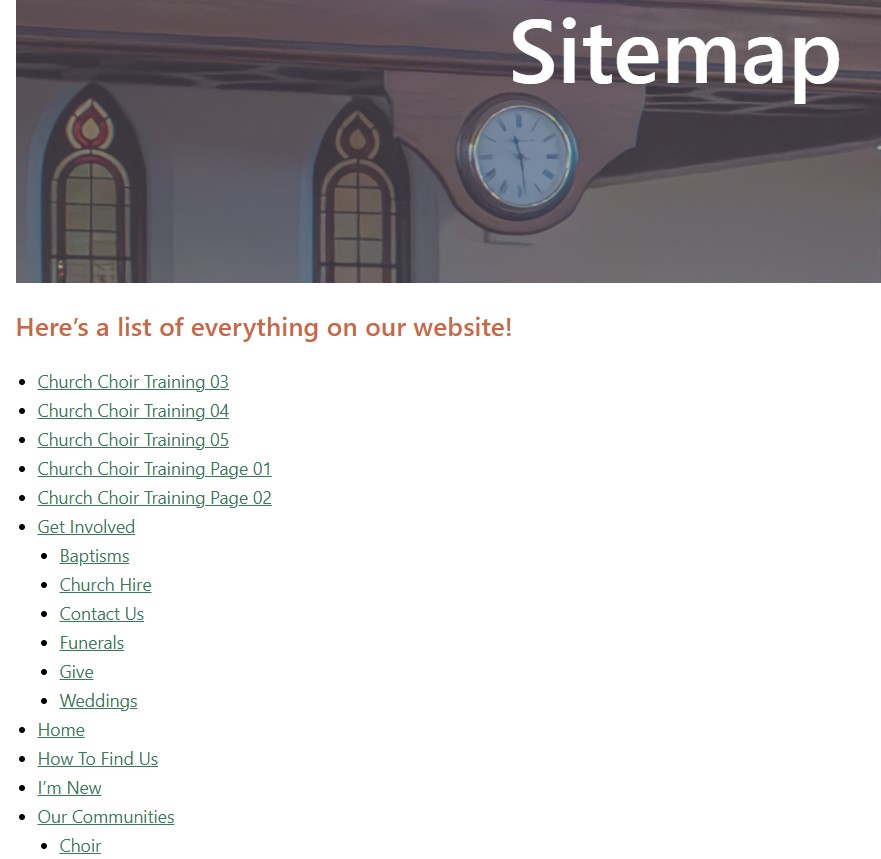
If you want to see a list of all published pages in a tree-type view, go to the published website and click on ‘Sitemap’ in the top menu:

Which will then take you to this page:
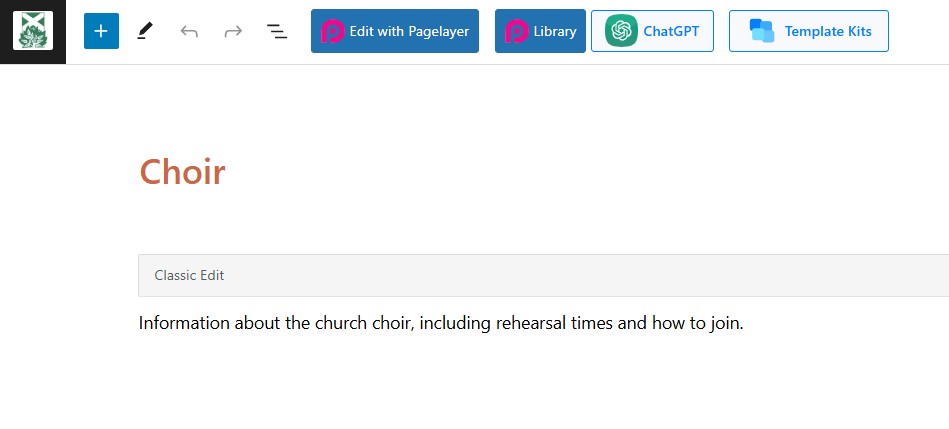
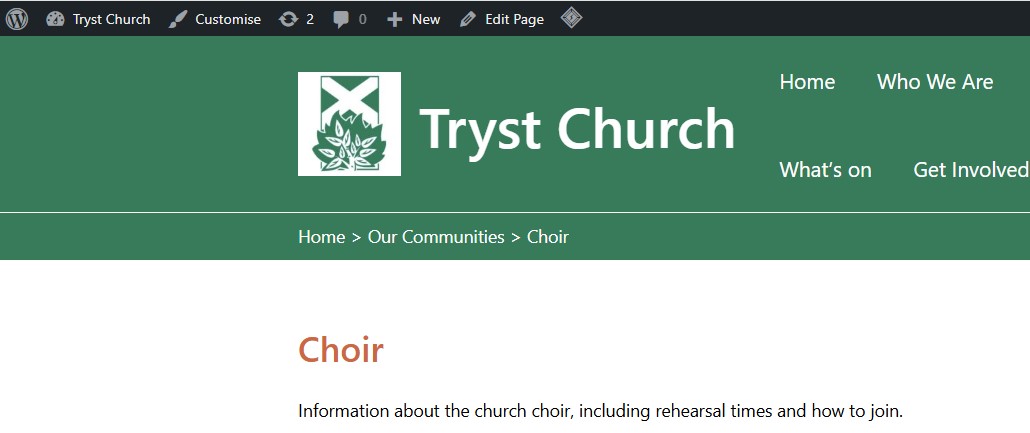
And if you click on any of the links it will take you to the relevant page (e.g. ‘Choir’ in this example):
Opening a page for editing directly from the published version
And if you’re logged into WordPress, you can open up the edit page directly from the published page simply by clicking on ‘Edit Page’ in the very top WordPress menu bar (the one with white text on black), and that takes you straight to the edit page screen: